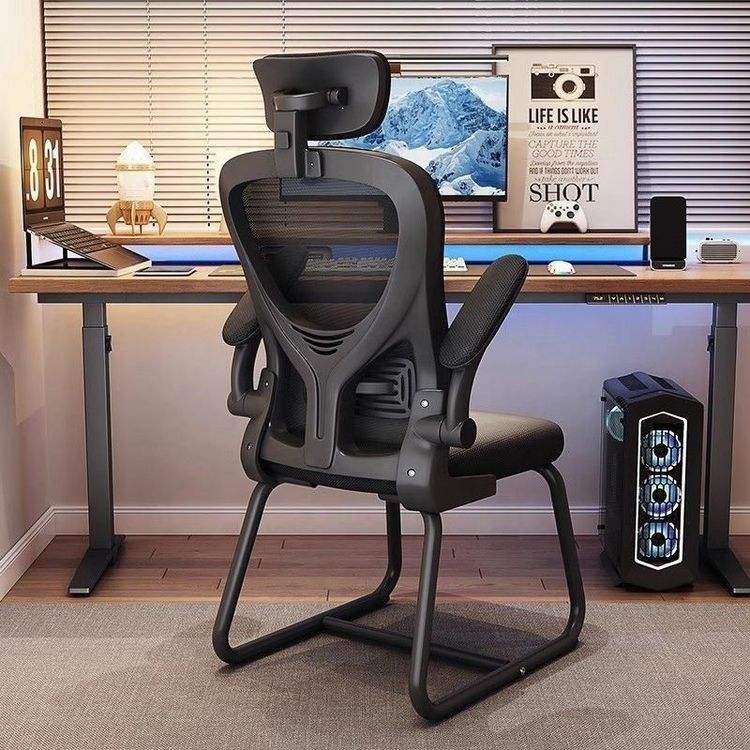
Office Chair Steel Plate Replacement
The replacement of the steel plate in an office chair can be carried out according to the following steps:

I. Preparation
Ensure that all necessary tools are available, including wrenches, socket wrenches, and rubber mallets. For large steel plates or special structures, professional auxiliary tools (such as cranes or winches) may be prepared, but these are usually not required for ordinary office chairs. The tools selected should match the screw specifications to avoid slipping or damaging the components.
II. Removal of the Old Steel Plate
- Special Structure Handling: For seats similar to the Hongyan Jieshi steel plate seat, invert the seat and use a wrench to remove the fixing screws beneath the seat to take out the seat plate. Then, use a socket wrench to remove the original seat cover and cushion, retaining the fixing components. Finally, use a rubber mallet to gently tap the rivets on the seat plate to remove the old steel plate.
- General Removal Principles: Regardless of the structure, ensure that all fixing bolts are completely removed before disassembly. Exercise caution during operation to avoid violent disassembly that could deform the steel plate or damage surrounding components. Small steel plates can be moved manually, but care should be taken to maintain balance and prevent scratches to the hands or floor.
III. Installation of the New Steel Plate
- Positioning and Fixing: Align the new steel plate with the seat plate, ensuring that the position and orientation are correct. For seats similar to the Hongyan Jieshi steel plate seat, use a socket wrench to install the new seat cover and cushion onto the steel plate seat, ensuring that the fixing components (such as screws and clips) are properly installed to prevent loosening.
- Connection and Reinforcement: In general cases, use Yan's corners (or similar connectors) to connect the new steel plate to the existing structural system of the seat, ensuring that the contact surface is flat. After installation, check the tightening force of the fixing bolts and use a torque wrench to tighten them to the standard torque to prevent the steel plate from shifting or breaking due to being too loose or too tight.
IV. Assembly and Inspection
- Reassembly of the Seat: Install the assembled steel plate seat and seat plate back onto the seat base and fix the screws with a wrench. Stand the seat upright and gently shake it to test its stability, checking for any unusual noises or wobbling.
- Comprehensive Inspection: Confirm that all bolts and nuts are tightened and use professional tools (such as torque gauges) to recheck the tightening force. If any fasteners are found to be missing or damaged, replace or repair them immediately to avoid leaving potential safety hazards.
Precautions: Wear protective gloves during operation to prevent metal scratches. If you are unfamiliar with the structure, it is recommended to take photos to record the disassembly steps for reference during reassembly. After replacement, it is advisable to avoid vigorous use in the short term and observe the stability of the steel plate.