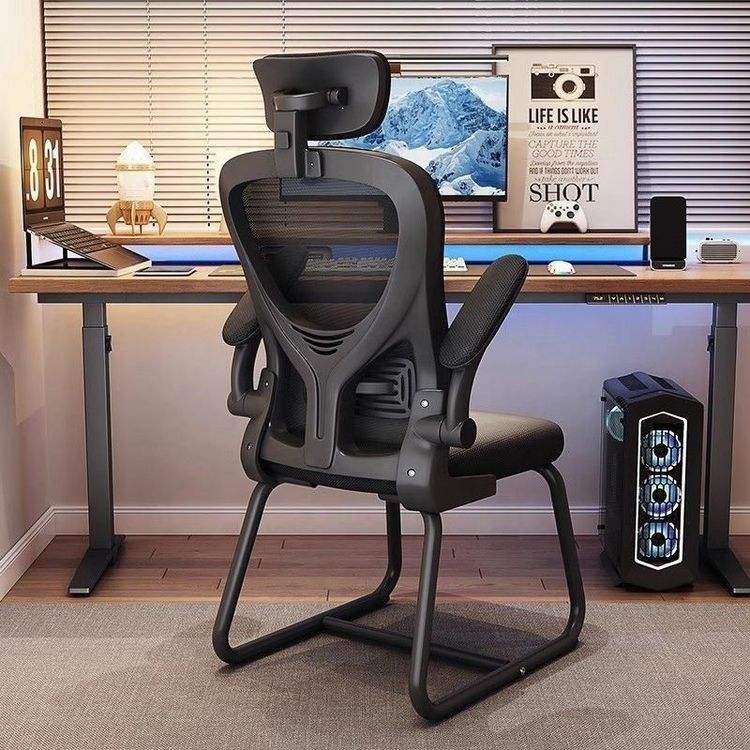
Office Chair Sketch Hand Drawing
Office chair sketch hand drawing requires a combination of structural understanding, proportion control, and creative expression. Here are the specific steps and key points:

1. Basic Structural Analysis The core structure of an office chair includes the backrest, seat, armrests, five-star casters, and adjustment mechanisms. Before hand drawing, it is essential to clarify the functions of each part: the backrest should conform to ergonomic curves to support the lumbar spine; the seat should remain level or slightly reclined to distribute pressure; the height of the armrests should match the desktop; and the five-star casters should demonstrate stability. You can start by drawing simple geometric shapes to outline the overall form, such as using a cuboid for the seat, a trapezoid for the backrest, a cylinder for the armrests, and a star shape for the caster base.
2. Proportion and Perspective Control Employ one-point or two-point perspective to enhance the sense of three-dimensionality. Using the seat as a reference, the height of the backrest is typically the distance from the seat to the top of the head (about 60-70 cm), and the height of the armrests is approximately 25-30 cm above the seat. When drawing a side view, pay attention to the angle between the backrest and the seat (usually 100°-110° for comfort); for a top view, emphasize the symmetry of the five-star casters. Key proportions should be positioned using auxiliary lines, such as using horizontal lines to mark the height of the seat, vertical lines to determine the center of the backrest, and diagonal lines to assist in representing the tilt angle.
3. Detail Design and Creative Expression Add design details to the basic structure: the backrest can be designed with a hollow grid, segmented support, or an adjustable headrest; the seat can incorporate breathable holes, soft-edged padding, or curved indentations; the armrests can be designed to be height-adjustable, rotatable, or equipped with control panels for smart functionality; and the casters can highlight features such as silent wheels, braking functions, or a metallic finish. Creative expression can be achieved through variations in line thickness: use bold lines for the outer contours to emphasize the main body, fine lines for internal structures to show hierarchy, and hatching or diagonal lines for shading to enhance the sense of three-dimensionality.
4. Referencing Excellent Cases for Optimization You can draw inspiration from the expressive techniques used in shared excellent design sketches: for example, using smooth curves to convey the dynamic feel of the backrest or employing exploded views to dissect the structure and reveal internal mechanisms; some cases use markers for coloring to highlight material contrasts (such as metal casters versus fabric seats) or use color blocks to distinguish functional areas (such as red to mark adjustment buttons). It is recommended to first copy classic cases to master basic techniques and then innovate based on your own design needs.
5. Tools and Techniques Supplement Recommended hand-drawing tools: pencils (2B for sketching), technical pens (0.3/0.5 mm for outlining), and markers (grayscale for representing light and shadow). Technique tips: Start by sketching lightly to outline the contours and gradually emphasize key structural lines; for shading, follow the principle of “closer parts are more solid, farther parts are more faded,” leaving white space near the light source; to represent leather textures, use short arcs to simulate the grain; for metallic parts, convey texture through highlights and reflective lines.