
Back to blog
Article
Disassembly of Office Chair Rotation Parts
Admin October 11, 2026
The disassembly of the rotating parts of an office chair should be carried out according to standardized procedures, with the core steps divided into three parts: preparing tools, disassembling individual components, and noting precautions. Details are as follows:
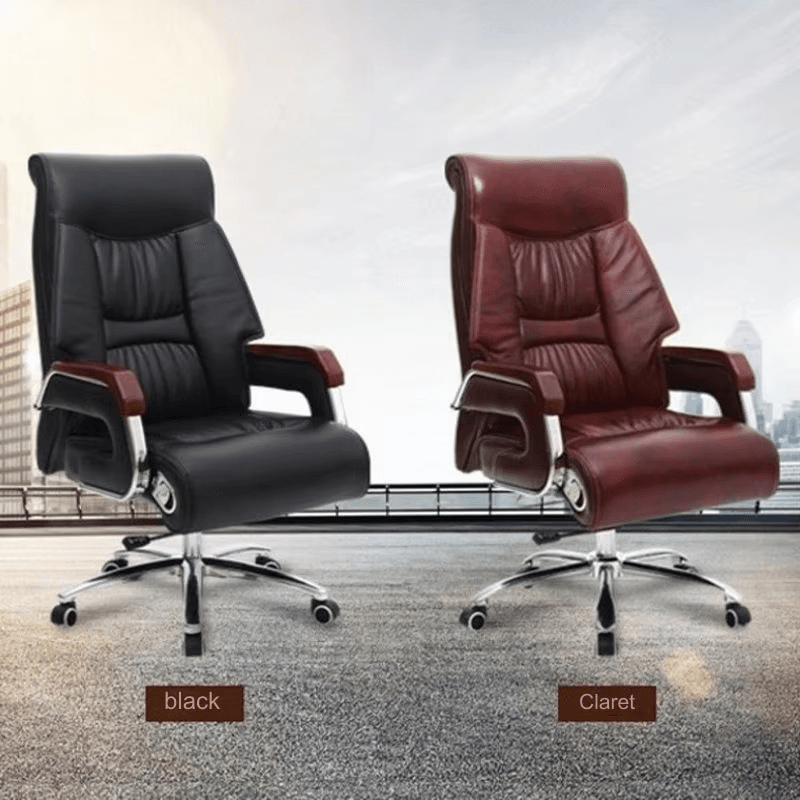
I. Preparation Before Disassembly
- Tool Preparation: You will need a rubber mallet (to prevent damage to the paint surface), a Phillips/flat-head screwdriver, a wrench, large scissors or diagonal pliers, and a soft cloth (to protect the chair seat).
- Safety Precautions:
- Place the chair upside down on a soft mat to avoid scratching the floor or chair seat;
- Wear anti-slip gloves to prevent tools from slipping;
- If the gas lift is involved, disconnect the gas cylinder first to prevent accidental lifting or lowering.
II. Core Disassembly Steps
- Removing the Casters:
- Pull the wheels outward with force; if they are stuck, insert a flat-head screwdriver or diagonal pliers into the gap between the wheel and the chair leg to pry them loose;
- If the wheels are entangled with hair or debris, lay the chair down first and use long scissors or curved tweezers to clear the debris before disassembly.
- Removing the Gas Lift:
- Place the chair upside down and tap the lower part (metal section) where the gas lift connects to the five-star base with a rubber mallet to loosen the retaining ring;
- If the retaining ring is too tight, apply cooking oil to lubricate the connection and let it sit for 1-2 hours before tapping again;
- Warning: Do not use a metal hammer or wrench to pry forcefully, as this may damage the seal of the gas lift, causing air leakage or explosion.
- Removing the Base and Seat:
- Separating the base: Raise the gas lift to its highest position, hold the seat with one hand, press the height adjustment lever with the other hand, and shake to remove it; if it is difficult, separate the backrest first before proceeding;
- Removing the seat: Turn the chair upside down, tap evenly around the metal rim at the bottom of the seat with a rubber mallet, and then pull upward with your hands; use a screwdriver to remove the screws connecting the seat to the chassis, tap the metal chassis lightly, and step on it to assist in separation.
- Removing the Backrest (if necessary):
- Follow the fixing method; most chairs are secured with screws, so use a screwdriver to remove the screws connecting the backrest to the seat.
III. Disassembly of Special Components (e.g., Knobs)
- Locate the Fixing Points: Use the flashlight on your phone to observe the 1-2 hidden screw holes on the back of the knob;
- Loosen the Screws: Turn the screws counterclockwise until they are completely loose, keeping the washers in place;
- Handle the Snap-fit Structure: Use a flat-head screwdriver to gently pry at a 45-degree angle along the edge; a clicking sound indicates separation;
- Separate the Components: Pull out slowly parallel to the backrest direction and check for any remaining fixing points.
IV. Precautions
- Operating Force: Avoid using excessive force to prevent damage to the knob or backrest structure;
- Wire Handling: If the knob is connected to wires, disconnect the power first and mark the sequence of the adjustment motor wires;
- Reassembly: Ensure all screws and snap-fits are fully secured to prevent loosening.
Additional Tips: Take photos of each connection point before disassembly or mark the positions of parts with a marker pen; you can search for "office chair disassembly tutorial" videos for reference during the process.


