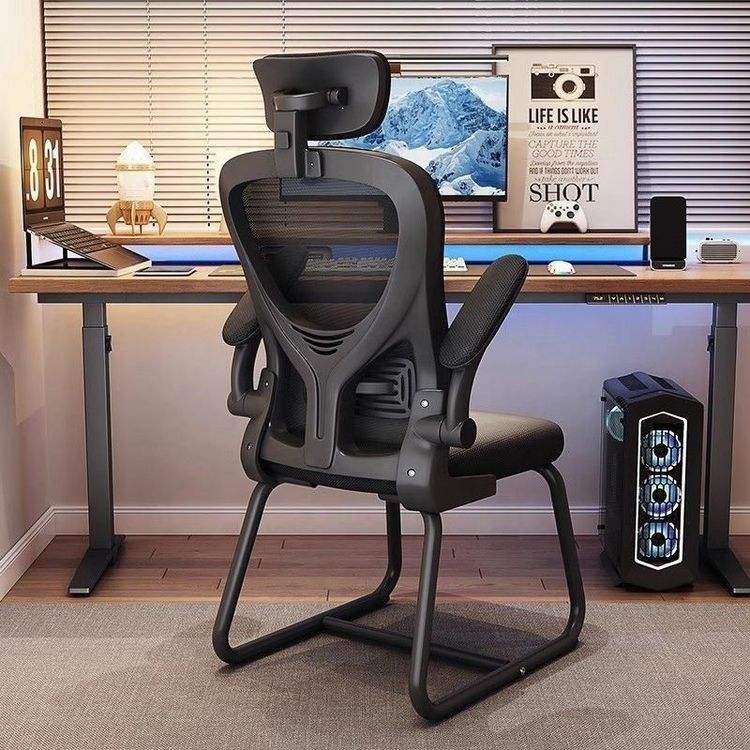
Office Chair Non-Woven Fabric Installation
The installation of non-woven fabric for office chairs can be carried out according to the following steps, which require a combination of tool operations and structural adaptability adjustments:

1. Prepare Tools and Materials
Gather a roll of non-woven fabric, a ruler or tape measure, scissors, adhesive tape, and safety gloves. If replacing old non-woven fabric (such as the black non-woven fabric at the bottom of the seat cushion of a Sihoo M76 computer chair), first use a screwdriver or needle-nose pliers to remove the fasteners (such as nails or clips). When removing the old fabric, keep the original fastening structure as a reference.
2. Clean the Installation Surface
Remove dust, oil stains, or residual adhesive from the area to be covered, ensuring the surface is flat and dry. For example, when installing on a Sihoo M59 computer chair, avoid impurities attached during transportation affecting the bonding effect. If the surface has bumps or damage, repair or level it in advance.
3. Measure and Cut the Non-Woven Fabric
Use a ruler to measure the length and width of the area to be covered (such as the seat cushion or backrest), mark on the non-woven fabric, and then cut it. Leave a margin of 3-5 centimeters for adjustments. If the old non-woven fabric is severely deformed (such as due to long-term compression causing size changes), it is recommended to first measure the actual coverage area with a tape measure before cutting to avoid size discrepancies.
4. Position and Secure the Non-Woven Fabric
Lay the non-woven fabric flat over the area to be covered, pull it tight from the center to the edges to eliminate wrinkles, and temporarily secure the edges with adhesive tape. If the original structure of the office chair uses a staple gun or clips (such as when replacing the fabric on a regular office chair and needing to secure the new fabric with a staple gun), refer to this method for reinforcement, but control the pulling force—non-woven fabric is relatively thin and can tear easily with excessive force. It is recommended to use a “segmented fixation + gradual adjustment” approach.
5. Trim and Adjust Details
Use scissors to trim excess non-woven fabric, ensuring the edges align with the chair's contours and are free of fraying. Check the covered area for bulges, looseness, or areas that are not properly adhered. If necessary, peel off the adhesive tape and readjust the fixation position, paying special attention to areas prone to lifting, such as the corners of the backrest and the edges of the seat cushion.
6. Reassemble and Test Functionality
If chair components (such as the seat cushion or backrest) have been removed, reinstall them according to the original structure and tighten the screws to prevent uneven stress on the non-woven fabric due to misalignment. Press down on the covered area to confirm there is no looseness, sit on it to test whether the support is even, and listen for any abnormal noises (such as friction between the non-woven fabric and metal parts). If any abnormalities are found, readjust the fixation method.
Precautions:
- Wear safety gloves during operation to prevent hand injuries from tools or sharp fasteners.
- If the non-woven fabric is used for internal support (such as covering the steel plate at the bottom of the seat cushion), cut it strictly according to the measured dimensions, with an error margin of no more than ±1 centimeter to avoid affecting the chair's stability.
- It is recommended to take photos of the original structure before operation, especially the positions and connection methods of fasteners, for easy restoration or troubleshooting.