Back to blog
Article
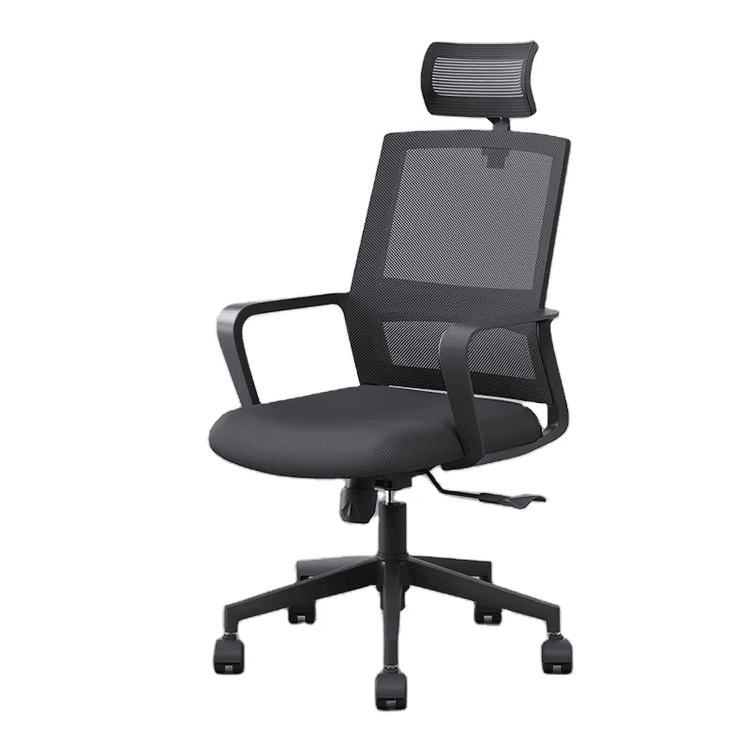
Office Chair Mesh Assembly
Admin October 09, 2026
The assembly of an office chair mesh should be carried out according to the following steps:

1. Preparation
- Tool Preparation: Phillips screwdriver, Allen wrench (usually included with the chair), Torx screwdriver, needle-nose pliers (for adjustments).
- Component Inspection: After unpacking, check that the backrest mesh, seat cushion, armrests, screw pack, and small accessories are all present and confirm there is no damage from shipping.
- Workspace Preparation: Clear a clean and spacious work area, and keep the product manual (if available) handy for reference.
2. Removing the Old Backrest Mesh (if replacing)
- Place the chair upside down or on its side on a soft cloth/pad to avoid scratching the surface.
- Locate the screws securing the old backrest mesh (usually at the connection between the backrest and seat or on the back frame of the chair), and use the corresponding tool to unscrew them one by one.
- Key Point: Observe and record the order of component connections and the direction of the clips, especially how they interlock, to facilitate subsequent installation.
3. Aligning the Structure and Matching Holes
- Direction Identification: The backrest mesh usually has an ergonomic curve or brand logo; distinguish between the top, bottom, left, and right directions.
- Initial Alignment: Align the new backrest mesh with the seat cushion (or independent backrest bracket) and check if the screw holes correspond.
- Adjustment Technique: If the holes are misaligned, use a screwdriver to gently pry the edges of the components to ensure that 2-3 fixing holes are fully aligned, while confirming the correct direction of the clips.
4. Securing Screws and Clips
- Screw Installation: Initially screw the screws in by hand to ensure smooth thread engagement, then use a tool to tighten them until there is a noticeable resistance (avoid over-tightening to prevent stripping).
- Clip Operation: If the chair uses clip designs (such as for armrest or backrest connections), align the positions and apply even pressure with the palm of your hand; a 'click' sound indicates that the clips are fully engaged.
5. Installing Other Components
- Brand Differences: Installation steps may vary for different models. For example:
- For Hebu office chairs, first install the chair wheels (do not tighten the screws yet), turn the base knob forward, align the backrest with the seat according to the hole spacing, tighten the screws, and finally connect the base to the air pump.
- For ENOVA Enjoy chairs, assemble the base, footrest, backrest, armrests, and other components in the direction of the arrows, then install the chair wheels and gas lift.
- For general mesh chairs, insert the wheels vertically into the five-star base, remove the seat screws, install the armrests, and tighten them.
6. Post-Installation Inspection
- Stability Test: Hold the backrest with both hands and gently shake it front to back and side to side to check for any looseness or abnormal noises.
- Function Test: Sit on the chair and operate the lift and recline (if available) functions to confirm that the backrest mesh does not obstruct the mechanism's operation.