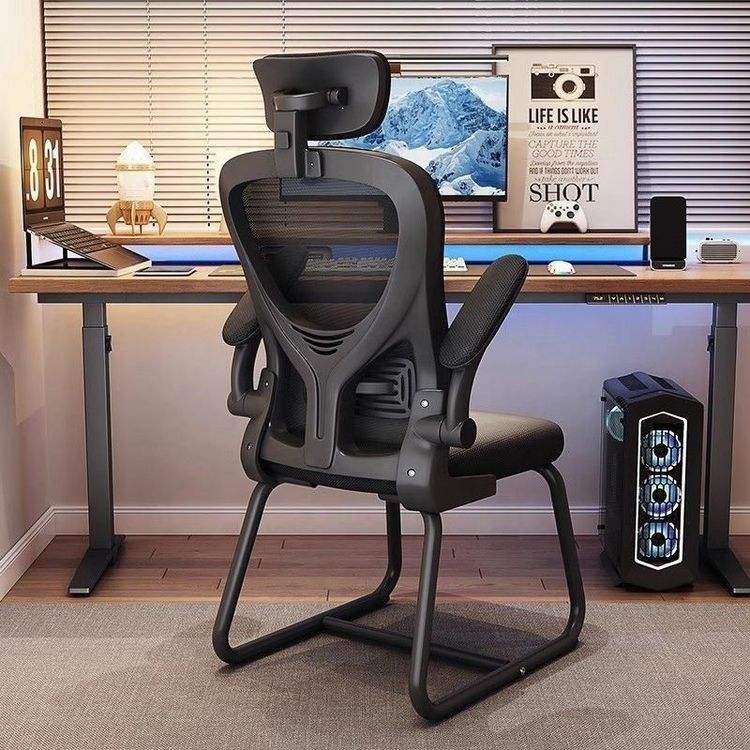
Office Chair Base Replacement
The replacement of the base of an office chair can be carried out according to the following steps:

I. Prepare Tools You need to prepare a hammer. A rubber hammer is preferred because its soft material makes it less likely to damage the surface of components during hammering. If you use an ordinary iron hammer, you need to prepare an additional towel to place between the hammerhead and the component to prevent the paint from being scratched during hammering. In addition, you also need to prepare an appropriate screwdriver for removing the screws that fix the bottom tray.
II. Remove the Bottom Tray and Seat Cushion Turn the entire office chair upside down and place it on a stable ground with the bottom facing up to ensure that the chair will not shake or tip over during the disassembly process. Use the screwdriver to find the screws that fix the bottom tray and the seat cushion. Usually, these screws are located at the connection part between the tray and the cushion, and there may be multiple screws that need to be unscrewed one by one. After unscrewing the screws, separate the bottom tray from the seat cushion. At this point, you can clearly see the connection structure of components such as the chassis, the gas lift, and the chair legs.
III. Disassemble the Chassis Hold the chassis with one hand and lift it upside down so that the connection part between the chassis and the gas lift faces up. Use the prepared rubber hammer (or an iron hammer with a towel underneath) to strike a specific position on the chassis. This specific position is usually the edge or a weak part of the connection between the chassis and the gas lift. When striking, maintain a certain degree of force and frequency. Generally, after striking several times, the connection between the chassis and the gas lift will gradually loosen and eventually separate. If the connection between the chassis and the gas lift is relatively tight, you can appropriately increase the striking force, but be careful not to apply excessive force and damage the components.
IV. Install the New Base Align the new base with the gas lift to ensure that the connection parts are accurate. Then, install the chassis back onto the gas lift in the reverse order of disassembly. During the installation process, you can gently press the chassis with your hand to make it fit closely with the gas lift. Finally, reconnect the bottom tray and the seat cushion, and use the screwdriver to tighten the previously unscrewed screws one by one to ensure a firm connection. After the installation is complete, turn the office chair back over and check whether all components are properly installed and whether there is any looseness or abnormal situation.