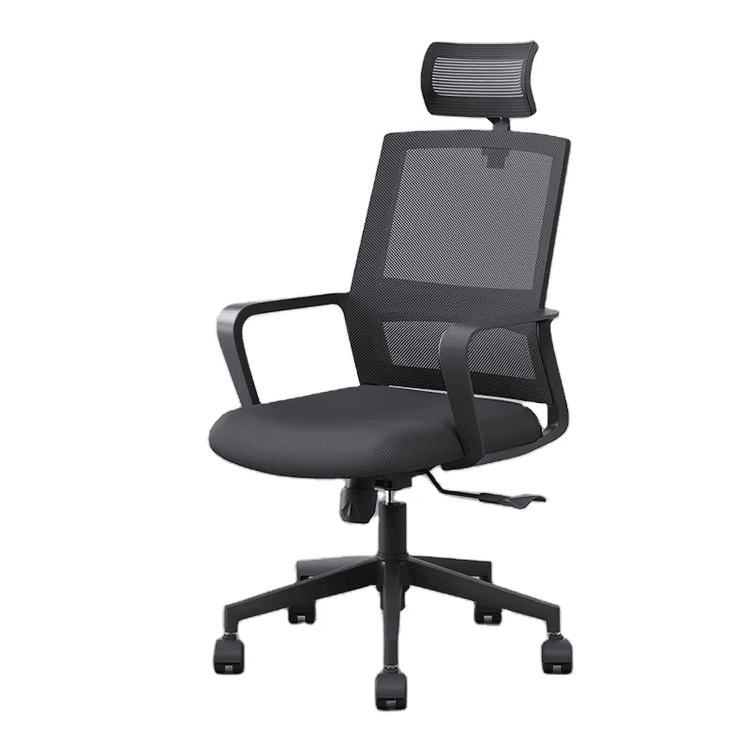
Office Chair Assembly Tutorial
This office chair assembly tutorial uses the OpenDesk Slim Chair as an example and can be carried out according to the following steps:

I. Prepare Components Before assembly, ensure that all components are complete, including two identical metal or plastic connectors, a chair seat (usually a seat panel), a backrest panel, two chair legs (the front and rear legs may have different structures), and matching wood screws or self-tapping screws. It is recommended to categorize and place the components on a flat table to avoid omissions or confusion during assembly.
II. Install Chair Legs
- Fix the First Chair Leg: Align the mounting hole of one chair leg with the corresponding hole on the connector, ensuring that the chair leg is perpendicular to the connector plane. First, use your fingers to screw the wood screw into the hole to about one-third of its depth (to avoid slipping when using a tool directly), and then use a screwdriver or power tool to tighten it until the screw head is flush with the connector surface.
- Install the Other Chair Leg: Repeat the above steps to fix the second chair leg. During assembly, continuously check whether the two chair legs are symmetrical and whether the joints are tight without gaps. If the chair legs are designed with front and rear distinctions (such as front legs with casters), install them strictly according to the positions marked in the instructions.
III. Install the Backrest Align the bottom of the backrest panel with the backrest mounting slot on the chair body connector, ensuring that the backrest is perpendicular to the chair seat. Insert screws through the reserved holes in the backrest panel and the connector from the back or side of the backrest, and tighten them one by one with a tool. Key Point: The backrest installation must be kept vertical to avoid discomfort during use; if the backrest and the chair body are fixed with snaps, make sure to hear a 'click' sound to confirm that they are properly engaged.
IV. Install the Chair Seat Place the chair seat (seat panel) on the assembled chair leg and backrest frame, aligning the screw holes around the seat panel with the reserved holes in the frame. Insert screws from the bottom or side of the seat panel, first fix the screws at the diagonal positions to maintain balance, and then tighten the remaining screws one by one. Note: If there is a gas lift (used for height adjustment) under the seat panel, insert it into the central hole of the chair leg and lock it first, and then install the seat panel.
V. Final Inspection After assembly, check whether all screws are tightened, whether the chair legs are stable, and whether the backrest is free of wobbling. Gently shake the chair to test the overall structural stability, ensuring that there is no looseness or abnormal noise. If the chair is equipped with casters, push the chair to test whether the wheels rotate flexibly.
Tip: The assembly steps of office chairs from different brands may vary. It is recommended to refer to the product instructions first; avoid applying excessive force during assembly to prevent damage to the components. If the hole positions are misaligned, realign them instead of forcing the screws in.