
Solid Wood Office Chair Tutorial
The installation of a solid wood office chair can be carried out according to the following steps, and the production requires following a specific process:
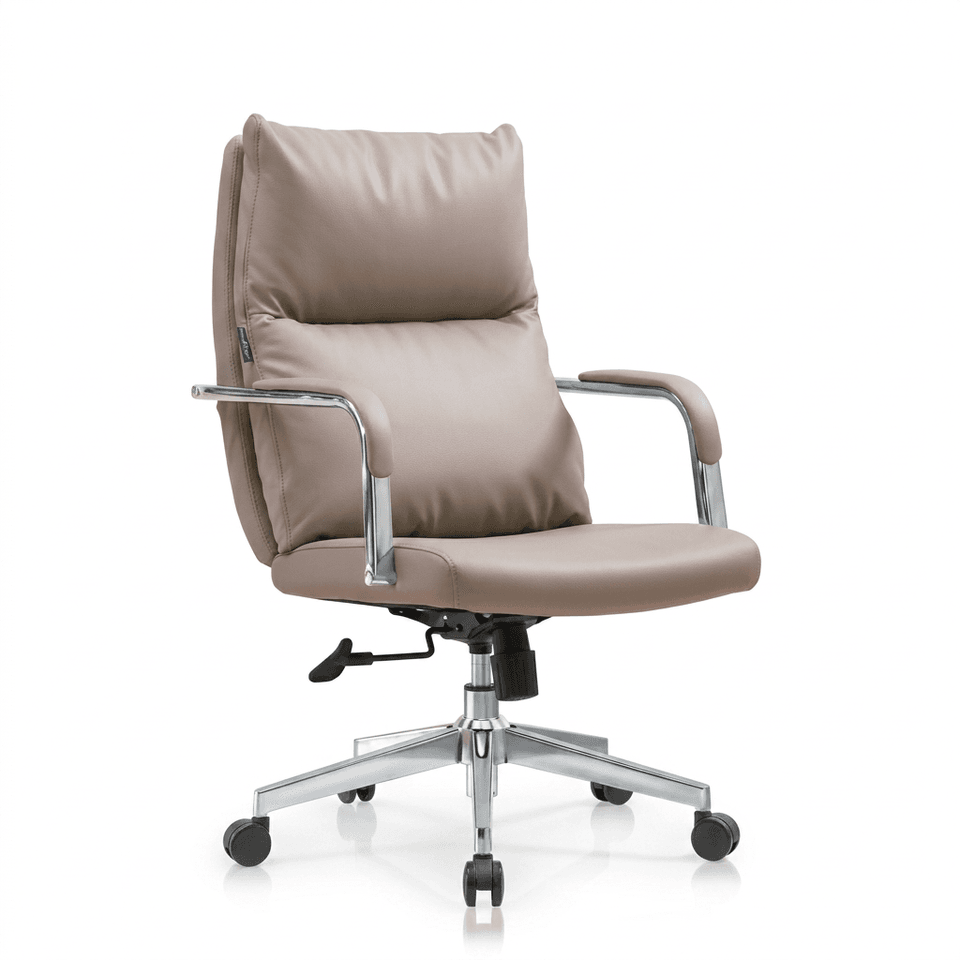
Installation Tutorial for Solid Wood Foot Office Chairs
Component Inspection
Before installation, check all components, focusing on whether the solid wood feet and gas rods are intact, ensuring there are no missing parts, scratches, or deformations. As a core component, the gas rod's sealing and load-bearing capacity directly affect usage safety, so ensure its surface is smooth with no signs of air leakage.Chair Foot and Gas Rod Assembly
Place the solid wood chair foot facing upwards and vertically insert the gas rod into the center hole of the chair foot. Press firmly until it is fully embedded, ensuring it is securely installed and fixed firmly. Then, in sequence, fit the small dust cover (close to the chair foot) and the large dust cover (covering the base of the gas rod) to prevent dust from entering the internal structure.Chair Body and Base Connection
Lay the chair body flat and take the assembled five-star foot component. Align the top of the gas rod with the center installation hole at the bottom of the chair body and push it in firmly until you hear a 'click' sound, indicating that the latch is locked. Hold both sides of the chair body and slowly stand it up to prevent damage to the gas rod from sudden force.Function Testing and Adjustment
After removing all packaging, test the lifting and rotating functions of the gas rod to ensure smooth operation without any stuttering. Check for any wobbling at the connection points of the components and listen for any unusual noises. If issues are found, re-tighten the screws or replace the components as needed.
Production Process for Solid Wood Office Chairs
Material Preprocessing
Cut the wood boards according to the positions marked on the design drawings to make the main components such as the seat and backrest. Use a hammer and file to remove the bark around the wood boards, exposing the wood grain, and then use an angle grinder to polish the surface to ensure the flatness meets the requirements.Mortise and Tenon Joint Processing
Mark the connecting lines on the wood boards and cut away the excess wood to perfectly align the edges of the seat and backrest. Using mortise and tenon technology, place the wood board flat on the drilling table and drill holes along the marks (horizontal holes for the seat and vertical holes for the backrest). The hole diameter should be 0.5-1mm smaller than the diameter of the wooden dowels to ensure a tight connection.Component Assembly and Fixing
Apply woodworking glue around the holes, knock the wooden dowels into the seat holes while connecting the backrest, and use a woodworking clamp to apply pressure for 24 hours to ensure the glue is fully cured. For chair leg production, draw straight lines on the side wood boards, draw a hexagon on the middle wood board and divide it into trapezoidal structures, cut them, and connect them with the armrest holes, also fixing them with glue and wooden dowels.Base Integration
Knock two square timbers into both ends of the crossbar respectively to form an 'I'-shaped base, and then reinforce the connection points with nails. The base should be fixed to the chair legs using mortise and tenon joints or screws to ensure the overall structural stability, and finally, perform overall sanding and painting treatments.



