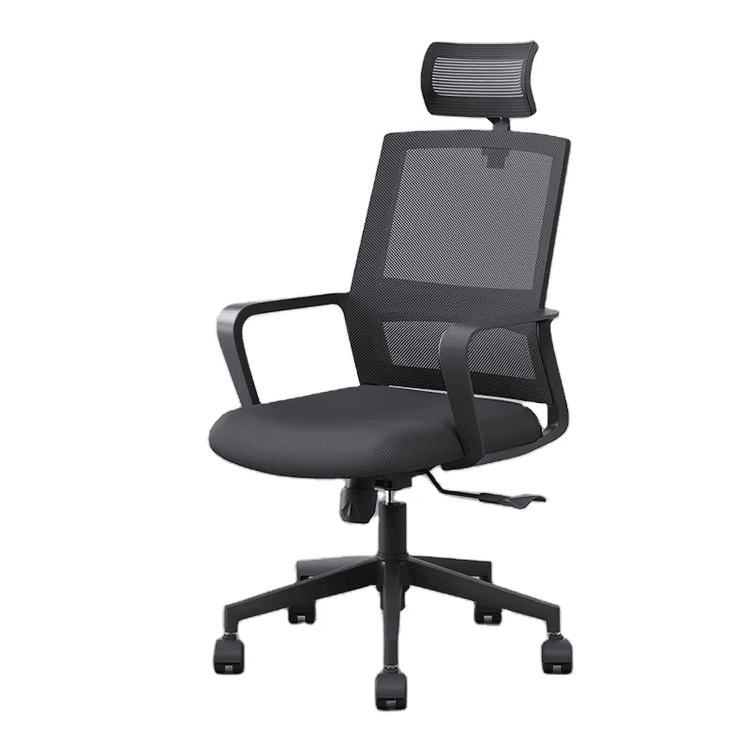
Ordinary Office Chair Assembly
The assembly of an ordinary office chair should be carried out in an orderly manner according to steps, with the core process divided into three stages: part verification, bottom-up installation, and detail adjustment and inspection. The specific operations are as follows:

I. Part Verification and Basic Installation
- Verify the quantity of parts: Count all components according to the product manual, including chair legs (five-star legs), casters (wheels), gas lift, seat, backrest, armrests, headrest, base (butterfly plate), screws, and washers. There may be differences between different chair models. For example, the backrest and seat of some chairs are integrated, and the screw types may include Torx screws. Ensure that all parts are complete.
- Install casters and chair legs: Press the five casters firmly into the five holes of the chair legs (some domestic casters require significant force for installation). After installation, insert the gas lift vertically into the center hole of the chair legs to ensure stability. If the chair is equipped with a gas lift cover, install it simultaneously.
II. Main Structure Assembly
- Secure the base to the seat: Align the base (butterfly plate) with the bottom of the seat and fix it with four long screws. Ensure that the screws are tightened to prevent loosening during subsequent use.
- Connect the backrest to the seat: Fix the backrest to the seat using angle brackets or dedicated connectors. Some chairs require washers to be installed to reduce friction. Align the holes during installation to avoid damaging the parts by forcing them.
- Combine the gas lift with the seat: Align the part of the seat with the installed backrest with the top of the gas lift and press it down vertically to snap it into the base connector. Some chairs require pressing down several times and lifting the seat cushion to confirm a secure connection.
III. Detail Component Installation and Adjustment
- Install armrests: Armrests usually have three holes that need to be aligned with the holes on both sides of the seat and fixed with screws. Avoid excessive force during installation; a 90% tightness is sufficient, and ensure that the washers are properly installed to distribute pressure.
- Install the headrest: Insert the headrest into the top connector of the backrest, tighten the fixing screws, and then pat it backward with your hand to check the tightness. If the headrest is loose, retighten the screws.
- Insert safety screws (if any): Some chairs have safety screw holes at the chair legs or base. Insert small screws to enhance stability. This step is easily overlooked but is crucial.
IV. Final Inspection and Testing
After completing the assembly, do not rush to use it. Hold the backrest with both hands and shake the chair left, right, front, and back to check for any loose connections. Sit down slowly and adjust your posture to confirm that the gas lift moves up and down smoothly, the armrest height is appropriate, and the headrest provides proper support. If any abnormalities are found, recheck the screw tightness or part installation direction in the corresponding steps.
Precautions: It is recommended to refer to the illustrated manual that comes with the product during assembly. Different brands of chairs may have design differences. If the holes do not align or the parts are stuck, do not force the installation. Contact after-sales service for guidance.