
Removing Wheels from an Office Chair
There are several methods to remove wheels from an office chair, depending on the type of wheel. Choose the appropriate operation accordingly:
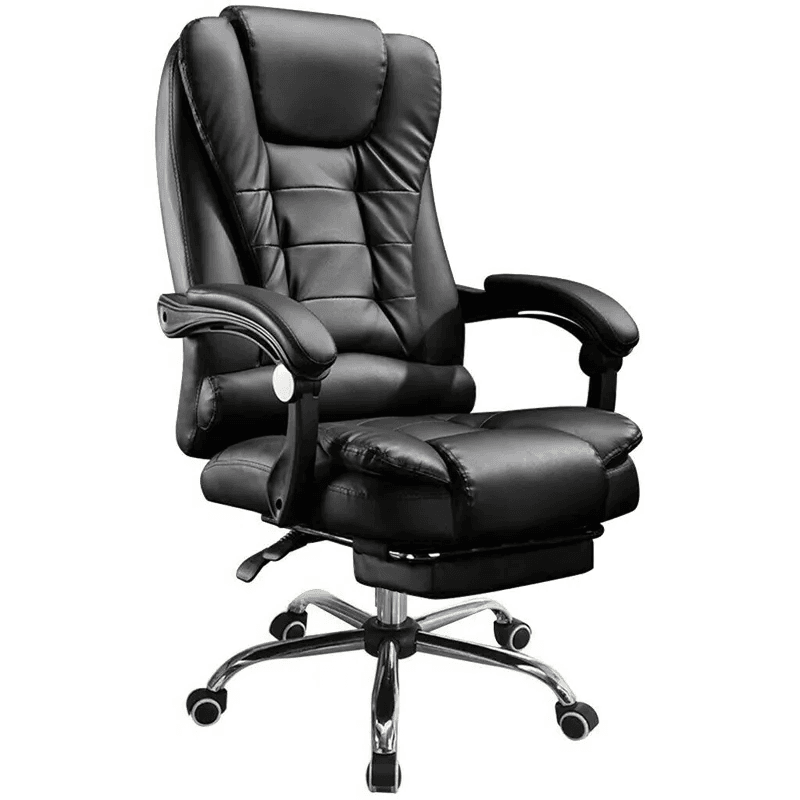
Removing Snap-On Wheels
Snap-on wheels are secured to the frame with elastic clips. To remove them, you first need to release the clips' locks.
Step 1: Flip the Chair
Turn the office chair upside down (with the seat facing downwards). Place a soft cloth or towel between the seat fabric and the ground to prevent scratches or stains.
Step 2: Locate the Clips
Examine the connection point between the wheel frame and the wheels. You should see one or more elastic clips (usually made of plastic, appearing as protrusions or grooves).
Step 3: Release the Clips
Hold the wheel frame with your hand, and use your thumb or index finger to press against the clip's position. Gently pull the wheel outward. If the clip is tight, use a flat-head screwdriver with a soft cloth underneath to slowly pry along the edge of the clip, avoiding excessive force that could deform the frame. Keep the screwdriver perpendicular to the frame while prying to reduce the risk of slipping.
Removing Insert-Rod Wheels
Insert-rod wheels are directly inserted into the frame's holes using metal or plastic rods and are held in place by friction. Removal requires overcoming this friction.
Step 1: Direct Pull (Initial Attempt)
Grasp both sides of the wheel with your hands and pull outward evenly. If the wheel loosens but does not detach, rotate it slightly left and right to break the friction before pulling again.
Step 2: Tool Assistance (When Stuck)
If direct pulling is difficult, insert the tip of a flat-head screwdriver into the gap between the wheel rod and the frame's hole. Gently pry the side of the rod to widen the gap, then try to pull it out. If you lack strength, use pliers to grip the base of the wheel rod (near the frame) and tap the pliers' handle lightly with a hammer, using vibration and leverage to loosen the wheel. Control the force when tapping to avoid damaging the frame.
Removing Wheels with Complex Structures
For some wheels, after the axle separates from the plastic part, the axle remains in the frame and requires further handling.
Step 1: Locate the Pivot Point
Use needle-nose pliers to grip the connection point between the wheel and the frame (such as a metal ring or plastic clip), ensuring the pliers' jaws fit snugly against the component's surface to prevent slipping.
Step 2: Pry and Rotate
Using the pliers' grip point as a pivot, pry the wheel outward while slowly rotating it counterclockwise. Utilize threads or friction to assist in separation. If the axle does not detach, move the pliers to the upper part of the ring and use the ring's edge as a new pivot point to continue prying until the axle completely separates from the frame.
Precautions:
- Wear protective gloves before operating to avoid cuts or pinches.
- If the wheels are difficult to remove due to aging or rust, spray a small amount of lubricant (such as WD-40) onto the connection point and wait 5-10 minutes before attempting again.
- After removal, check the frame's holes for deformation or burrs. If necessary, sand them smooth to prevent jamming when installing new wheels.


