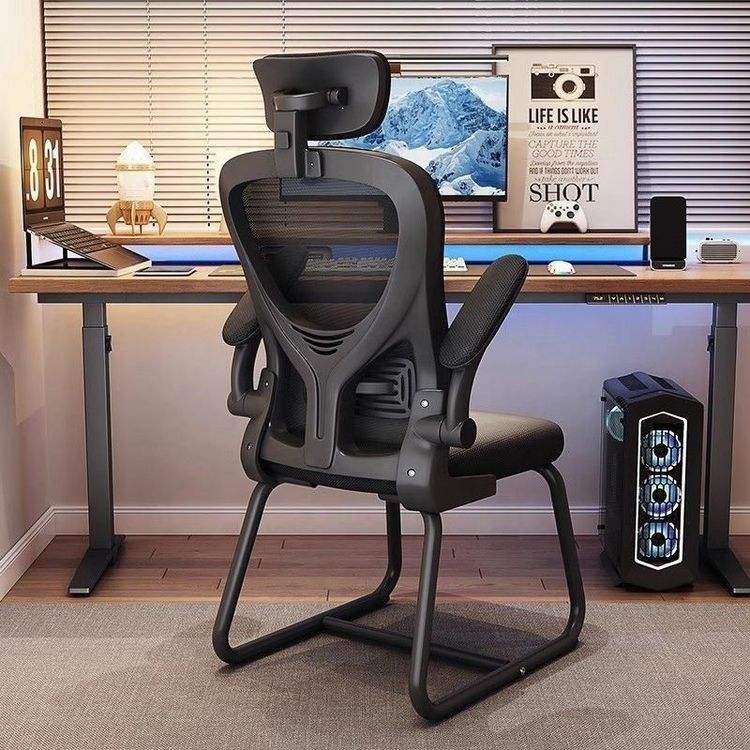
Office Chair Leather Repair
The repair of office chair leather can be carried out according to the following steps. It is necessary to select the corresponding method based on the type of damage and pay attention to material compatibility:

I. Cleaning Preparation Before repairing, thoroughly clean the damaged area to prevent dust and stains from affecting the repair effect. Use a multi-functional cleaner or a soft cloth dipped in a neutral cleaner to gently wipe the damaged area and its surrounding regions to remove surface dirt. After cleaning, wait for the chair to dry completely (usually 1-2 hours) to ensure that the repair materials can adhere firmly. If there are oil stains or stubborn stains on the chair surface, you can first clean them locally with an alcohol pad, but avoid letting alcohol come into contact with non-leather parts.
II. Product Selection and Compatibility Select repair tools based on the degree of damage and the material of the chair:
- Repair Agent: Suitable for cracks with a diameter of less than 3 millimeters or shallow scratches. It can be directly applied to fill and smooth the surface. For full-leather chairs, choose a professional leather repair agent. For faux leather or PU chairs, select a low-viscosity repair agent to avoid clogging the air holes.
- Repair Paste: For cracks or holes longer than 5 millimeters, use a scraper to fill them until they are flush with the surface. After drying (usually 6-12 hours), sand them with fine sandpaper (800-1000 grit) until they are smooth. Apply the repair paste in layers, with each layer no thicker than 1 millimeter to prevent cracking.
- Leather Dye: Used for color adjustment after repair. Select a dye with a color difference of less than 10% from the original chair. Dip a sponge in the dye and apply it evenly in a circular motion. After each application, wait 10 minutes for it to dry before adding another layer to avoid color buildup.
III. Type-Specific Repair Operations
- Minor Wear/Scratches: Directly dip a cotton swab in the repair agent and apply it to the damaged area. Press repeatedly along the direction of the crack to fill it. After the surface is slightly dry, polish it with a dust-free cloth.
- Larger Cracks/Holes: Fill the cracks with repair paste, extending the edges 2-3 millimeters beyond the damaged area. After drying, sand it with sandpaper until it matches the texture of the surrounding leather, and then cover the sanding marks with the repair agent.
- Uneven Color: First test the dye color in a concealed area. After confirming a match, dip a sponge in a small amount of dye and spread it from the center of the damage outward. After each layer dries, compare the color until there is no difference from the surrounding area.
IV. Protective Treatment After repair, dip a soft cloth in a small amount of leather protector (compatible with the chair material) and apply it evenly to the repaired area in a circular motion to form a protective film. The protector can enhance the luster and block water stains and oil stains, but avoid using too much to prevent a sticky surface. If the chair is a fabric-leather combination, use masking tape to cover the fabric part before protective treatment.
Precautions:
- Avoid using a full-leather chair for 24 hours after repair and ventilate a faux leather chair for 48 hours.
- For complex damage (such as large-area tears or deformation) or chairs with a combination of materials, it is recommended to contact a professional repair agency.
- Store repair tools in a cool and dry place to prevent material deterioration due to high temperatures.