
Office Chair Industrial Hand Drawing
The content related to industrial hand drawing of office chairs mainly includes two aspects: sharing excellent design sketches and tutorials for hand drawing classic works.
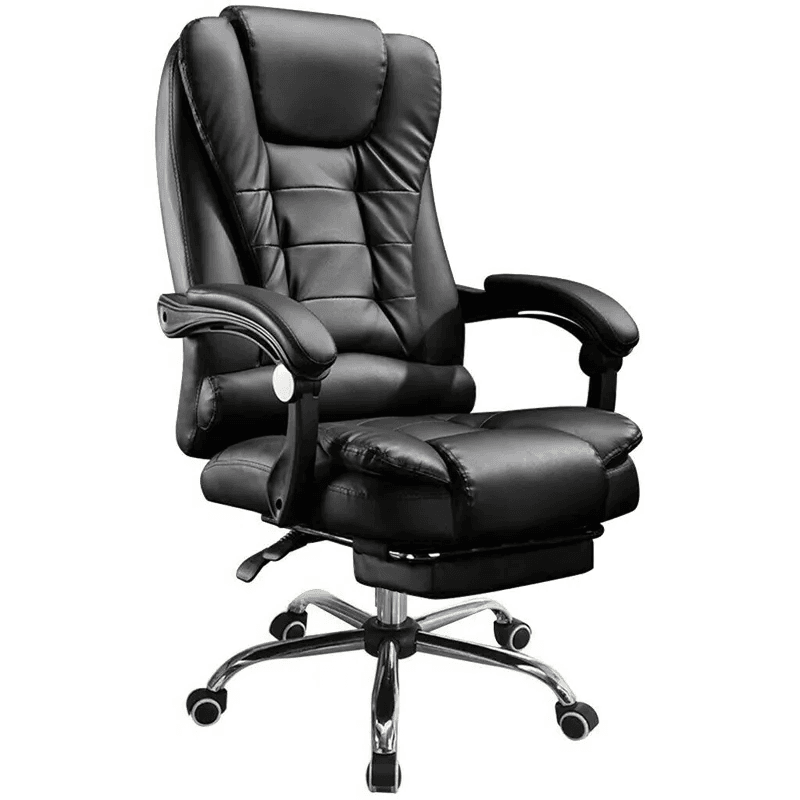
On one hand, excellent design sketches of office chairs discovered by chance are shared. These sketches hold high appreciation and copying value for hand drawing enthusiasts. By copying these excellent design sketches, one can learn the造型 (modeling) characteristics, line application, and design ideas of office chairs in different styles, which helps improve one's own hand drawing skills and design level. During the copying process, it is important to pay attention to observing the smoothness of lines, the accuracy of proportions, and the handling of details in the sketches, striving to make them similar to the original drawings as much as possible. At the same time, one can also incorporate their own understanding and innovative elements.
On the other hand, there is a detailed tutorial on hand drawing the classic industrial design work - the Eames Lounge Chair. The tutorial has clear steps. Starting from the initial sketching stage, use a hard 2H pencil to sketch, carefully observe the overall shape trend, and determine the position and perspective ratio. This is the foundation of hand drawing. Only with accurate proportions and perspectives can the subsequent drawing proceed smoothly. When outlining, use a fine-liner pen to outline the general shape, emphasize the lines in the dark areas and structural spaces, and erase the pencil marks to make the outline clearer and more defined. During the base color application stage, use NG279 to apply the base color to the entire cushion, leaving out the highlight areas and emphasizing the turning points. Apply the base color to the wooden seat (E168) to lay the foundation for subsequent color deepening. When emphasizing the dark areas, use NG280 to emphasize the dark areas of the cushion and E164\166 to apply the dark areas of the wooden backrest, enhancing the three-dimensionality and layering of the object. Emphasize the dark areas again, use NG281 to emphasize the dark areas on the back of the seat, use 280 to transition the light-dark boundaries, and use E166 to emphasize the dark areas of the wooden backrest again and transition, making the colors in the dark areas richer and more natural. When brightening the light areas, use a white colored pencil to brighten the light areas and the edges of the highlights, dot with a highlight pen to highlight the illuminated parts of the object, and enhance the light-dark contrast of the picture. Finally, add wood grain by lightly sketching a few wood grain lines with E169 to make the wooden part more realistic and increase the realism and texture of the picture.


