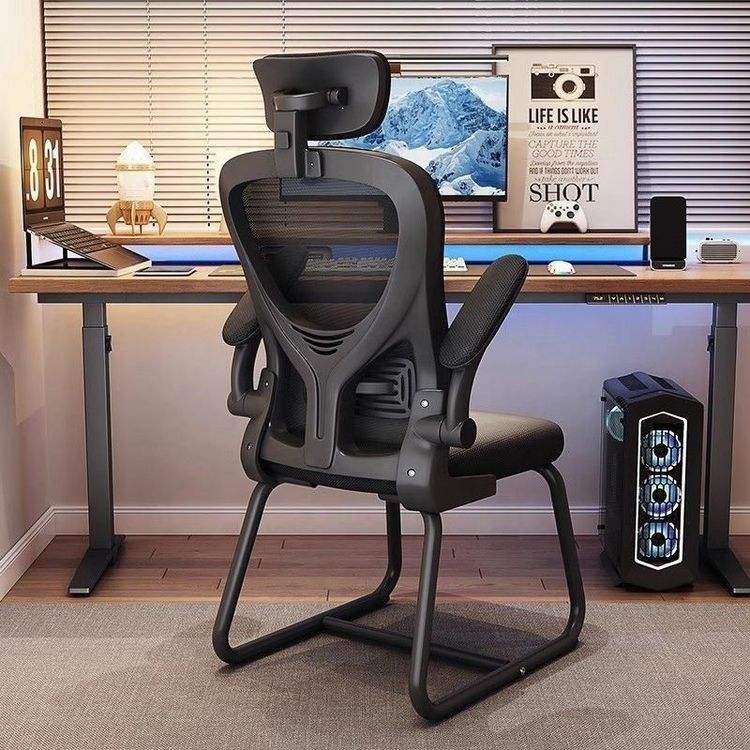
Office Chair Height and Front-Back Adjustment
The height and front-back adjustment of an office chair should be carried out according to the specific component type and standard procedures. Here are the detailed methods:

I. Height Adjustment
Locating the Adjustment Component
The height adjustment component is typically located beneath the seat, commonly in the form of a round knob, lever, or push-button. Some chairs have the adjustment lever designed on the underside of the armrest. Before operation, lean forward to observe the bottom structure of the seat and identify the type of adjustment component.Specific Operation Methods
- Round Knob: Rotate the knob clockwise to raise the seat and counterclockwise to lower it. Maintain body stability during adjustment to prevent seat wobbling caused by excessive rotation force.
- Lever/Push-Button: Lift the lever or press the button (while maintaining continuous pressure), and adjust the seat height by gently lifting or pressing down on the seat with your body. The hydraulic rod will automatically lock when released. If the seat cannot be fixed after adjustment, check if the lever is fully reset.
Height Standards and Precautions
After adjustment, ensure that both feet are flat on the ground and the knees are bent at approximately 90 degrees to avoid leg suspension or excessive knee flexion due to improper height. Avoid rapid and large-scale height adjustments during the process to prevent damage to the hydraulic rod from impact force. If the chair is equipped with a pneumatic rod, regularly check its tightness to prevent air leakage and adjustment failure.
II. Front-Back Sliding Adjustment
Locating the Adjustment Component
The sliding adjustment component is generally located at the front end of the seat bottom (near the knees), often as a black or silver sliding lever. Some chairs integrate the sliding function into the height adjustment lever. If the chair has no separate lever, manual pushing of the seat may be required for front-back movement (some simple chairs may not have this function).Specific Operation Methods
- Independent Sliding Lever: Lift the lever (some chairs may require lifting the height adjustment lever simultaneously), move the seat forward or backward to the desired position with your body, and the seat will automatically lock when the lever is released. Maintain body balance during adjustment to prevent imbalance caused by seat sliding.
- No Independent Lever: First, adjust the seat height to the lowest position, hold the edges of the seat with both hands, and push it forward or backward. After adjustment, confirm that the seat is firmly in contact with the ground.
Distance Standards and Precautions
After adjustment, ensure that there is a gap of 2-3 fingers between the back of the knees and the front edge of the seat cushion to avoid compressing the popliteal fossa and affecting blood circulation. If the seat sliding resistance is too high, check if the track is blocked by foreign objects or apply a small amount of lubricant (use a dedicated silicone-based lubricant to avoid corroding components).
III. Comprehensive Adjustment Recommendations
- Before adjustment, reset the backrest locking lever, armrest adjustment knob, and other devices to their initial positions to avoid adjustment failure due to component interference.
- After adjustment, gently shake the seat while standing up to confirm that all devices are firmly locked. After sitting down, adjust your posture so that your lumbar and cervical vertebrae naturally fit against the backrest and headrest to reduce fatigue from prolonged sitting.
- If you need to get up temporarily, you can directly lift the seat height lever to get up quickly without repeatedly adjusting parameters. For long-term disuse, it is recommended to adjust the seat to the lowest position to reduce pressure on the hydraulic rod.