
Back to blog
Article
Office Chair Bracket Replacement
Admin October 11, 2026
The replacement of an office chair bracket should be carried out step by step according to the specifications to ensure safety and compatibility. The specific process is as follows:
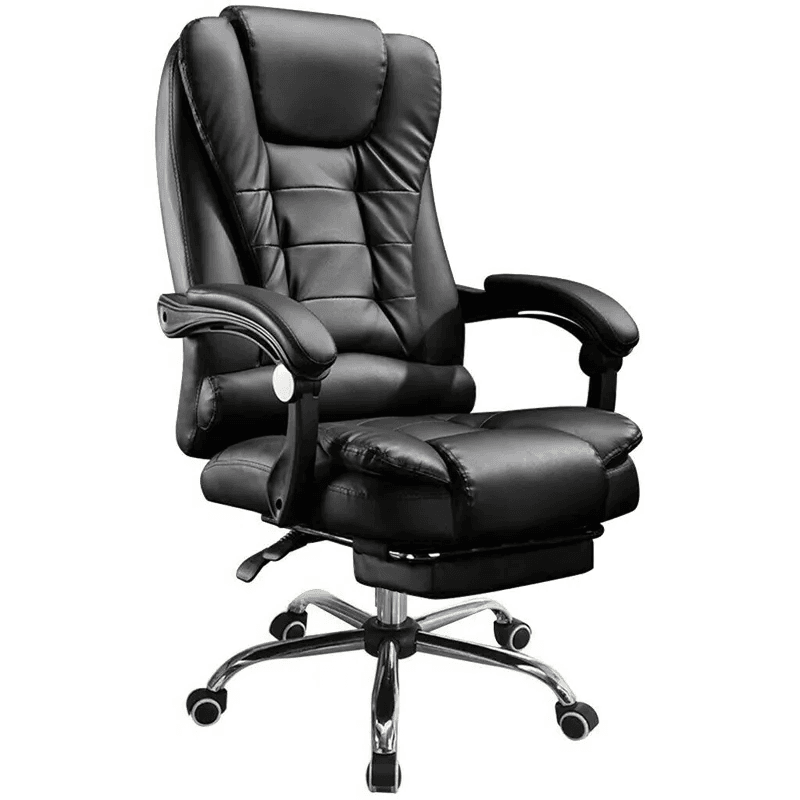
I. Tool and Accessory Preparation
- Tools: Prepare a Phillips/flat-head screwdriver, a rubber or plastic mallet, an adjustable or open-end wrench, and a cloth; if the screws are rusted, have a loosening agent (such as WD-40) or rust remover on hand.
- New Bracket Purchase:
- Measurement Data: Measure the hole spacing (e.g., 14cm×17.5cm) and the diameter of the center hole (the hole connecting to the gas lift) from the old bracket, and take clear photos of the old bracket (including screw hole positions and the center hole).
- Material and Thickness: Prioritize a reinforced steel bracket with a thickness of ≥3.0mm for better load-bearing capacity and durability.
- Compatibility Confirmation: Provide the measurement data and photos to the merchant to confirm that the new bracket is compatible with the original chair.
II. Safety and Environment Preparation
- Work Area: Clear a flat and spacious area, and lay down soft padding (such as cardboard or old towels) on the ground to prevent scratches on the chair surface or floor.
- Chair Status: Ensure that the gas lift is in the lowest, non-adjustable position to avoid accidental popping up during operation.
- Protective Measures: Wear work gloves to prevent screw scratches or bumps from metal parts.
III. Removing the Old Bracket
- Removing the Five-Star Base (Wheels): Turn the chair upside down on the soft padding and directly pull up the casters.
- Separating the Five-Star Base from the Gas Lift: Use a rubber mallet to evenly tap around the connection between the center steel ring of the five-star base and the gas lift, and try to pry the five-star base to loosen it. Repeat the "tapping-prying" process until separated.
- Removing the Screws Connecting the Seat and the Bracket: Use a screwdriver to remove the screws (usually 4) that secure the seat to the bracket, and keep the screws safe.
- Separating the Gas Lift from the Old Bracket:
- Raise the gas lift to the highest position, and use a rubber mallet to evenly tap around the connection steel ring between the bracket and the gas lift, avoiding hitting a single point hard.
- While tapping, try to pry the bracket up and down or use your foot to assist, using the principle of leverage to separate them.
- If it is tightly stuck, tap multiple times or spray the loosening agent and wait a moment before operating again.
IV. Installing the New Bracket
- Preliminary Fixing of the Armrest Bracket: Align the hole positions of the armrest bracket with those of the seat bracket, and connect them with 5×80 screws, but do not tighten them yet.
- Installing the Crossbar: Align the hole positions of the crossbar with those of the armrest bracket, and connect them with 5×40 screws and nuts, tightening them with a wrench.
- Secondary Fixing: Again, use 5×80 screws to reinforce the connection between the armrest bracket and the seat bracket, and use 5×40 screws and nuts to fix the crossbar.
- Installing the Armrest Sleeve: Complete the final decorative step according to the model.
Precautions: Maintain even force during operation to avoid damaging the gas lift or chair surface; if rust or jamming is encountered, prioritize using a loosening agent instead of violent disassembly.



