Back to blog
Article
Office Chair Assembly and Disassembly
Admin October 08, 2026
The assembly and disassembly of office chairs should be carried out according to standardized procedures. The specific steps and precautions are as follows:

Assembly Steps
- Install Casters and Gas Lift
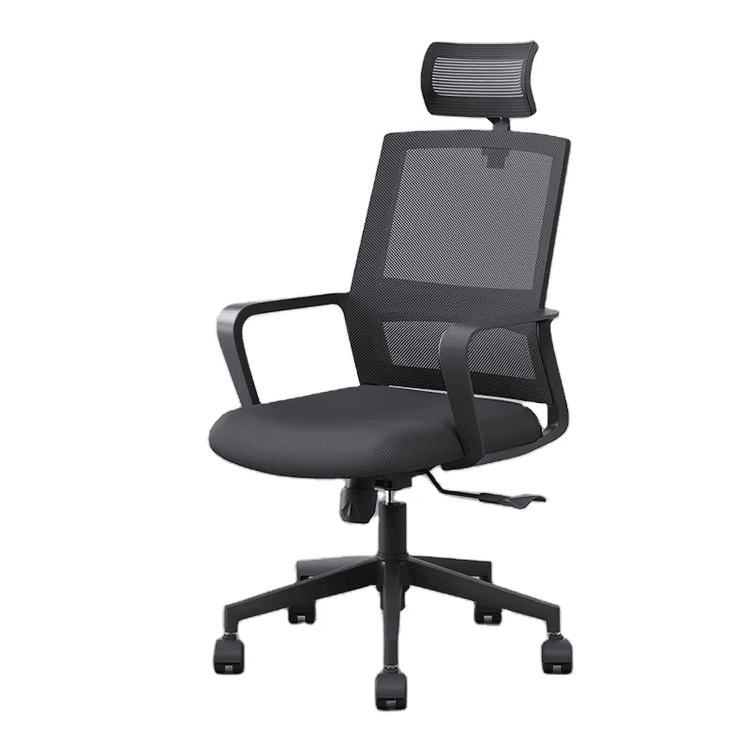
Attach each caster to the chair base, ensuring the clips are securely in place; insert the gas lift vertically into the center hole of the chair base and keep it stable. - Secure the Seat Plate to the Chair Seat
Use a screwdriver to fix the seat plate to the bottom of the chair seat with screws, ensuring the screws are tightened appropriately to avoid stripping. - Assemble the Backrest and Base
Connect the backrest to the chair seat using clips or screws, ensuring there are no gaps at the connection points; insert the assembled base vertically into the top of the gas lift and press down gently until fully seated. - Install Armrests and Headrest
Depending on the design, fix the armrests to both sides of the chair seat with screws; if the headrest is detachable, align it with the slot at the top of the backrest and lock it in place.
Disassembly Steps
- Separate the Backrest
Check the connection method of the backrest (clips or screws). If it is connected with clips, hold the junction between the backrest and the chair seat with both hands and lift upwards or shake side to side to separate; if it is connected with screws, use the corresponding tool to loosen them counterclockwise. - Separate the Base from the Gas Lift
- Method 1: Raise the gas lift to its highest position, press the height adjustment lever with one hand, and shake the base with the other hand, using leverage to loosen the clips.
- Method 2: Invert the chair and tap evenly around the bottom steel ring of the base with a rubber mallet to loosen the internal clips; if it does not come off, step on the chair base to hold it steady, grasp the seat cushion with both hands and shake it up and down, or use a pry bar to assist in separation.
- Remove the Gas Lift from the Chair Base
Invert the chair base and tap the bottom of the gas lift lightly with a rubber mallet, or place a wooden board underneath and tap with a metal hammer to avoid damaging the paint finish from direct tapping. - Disassemble Other Parts
Reverse the assembly order, use a screwdriver or wrench to loosen the screws, and remove the armrests, headrest, and other components one by one.
Tool Preparation
- Basic Tools: Phillips/flat-head screwdrivers, wrenches (including socket wrenches), rubber mallet, staple remover, pry bar or plastic pry tool, cloth.
- Special Tools: Allen wrench (for hex screws), electric drill (to speed up screw removal), penetrating oil (for rusted parts).
Precautions
- Safety First: Avoid violent operations when disassembling the gas lift to prevent the internal high-pressure gas from escaping; clips that have been used for a long time may be tight and require patience to loosen.
- Record and Store: Take photos to record the positions of each component before disassembly, and store screws, clips, and other small parts in categories to avoid loss.
- Surface Protection: Use a rubber mallet or plastic pry tool to avoid scratching the chair surface with metal tools; wipe clean with a cloth and do not use corrosive liquids.
By following standardized procedures, you can efficiently complete the assembly and disassembly of office chairs while extending the lifespan of the furniture.