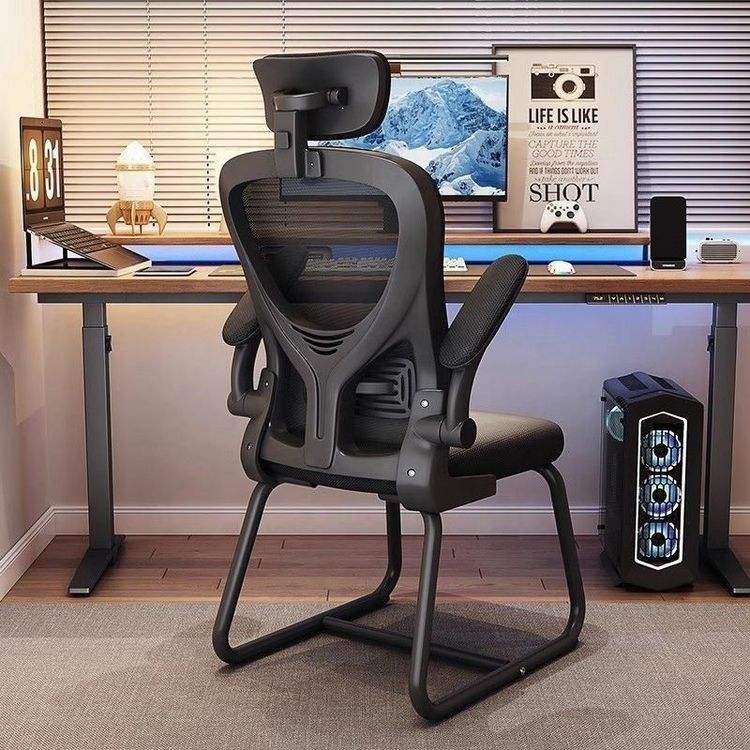
Office Chair Assembly
The steps for assembling an office chair are as follows:

Step 1: Install the casters and chair base
Attach each caster to the chair base one by one, ensuring a secure connection between each caster and the base. After installation, place the gas lift vertically into the center of the chair base, ensuring alignment with the center. The installation methods vary slightly depending on the model. For example, for the 205/206 office chair, insert the five wheels into the five-claw base one by one, while for the 526 office chair, insert the five wheels into the chair base one by one.
Step 2: Secure the seat plate to the seat
Use screws to fasten the seat plate to the seat, ensuring a tight connection between the two. The screw specifications should be selected according to the specific model, and it is usually necessary to use the matching screws and tools for operation. Pay attention to the tightening force of the screws during installation to avoid a loose or overly tight connection that could cause the seat plate to loosen or be damaged.
Step 3: Connect the backrest and the seat
After the seat is installed, connect the backrest to the seat. The connection methods may vary depending on the model. For example, the 205/206 office chair requires four M625mm screws to connect the armrests to the backrest, while the 526 office chair requires four M625mm screws for the same purpose. Ensure that the screws are tightened during connection and that the angle between the backrest and the seat meets the design requirements.
Step 4: Install the gas lift and the base
Insert the base vertically onto the gas lift, ensuring a secure connection between the two. Pay attention to the orientation of the gas lift during installation; usually, the top of the gas lift should face upwards, and the bottom should be connected to the chair base. After installation, gently press down on the base to test the flexibility of the gas lift, ensuring it can rise and fall normally.
Step 5: Install the armrests and headrest
The installation methods for the armrests and headrest vary depending on the model:
- For the 205/206 office chair: Use two M620mm screws with washers to install the upper and lower parts of the armrests, then install the decorative cover, and finally use two M630mm screws to install the headrest.
- For the 526 office chair: Use four M630mm screws to connect the armrests to the seat cushion, two M825mm screws to connect the armrest brackets to the armrests, install the decorative cover, and finally use two M6*25mm screws to install the headrest.
Pay attention to the screw specifications and positions during installation to ensure that the armrests and headrest are installed firmly and in the correct positions.