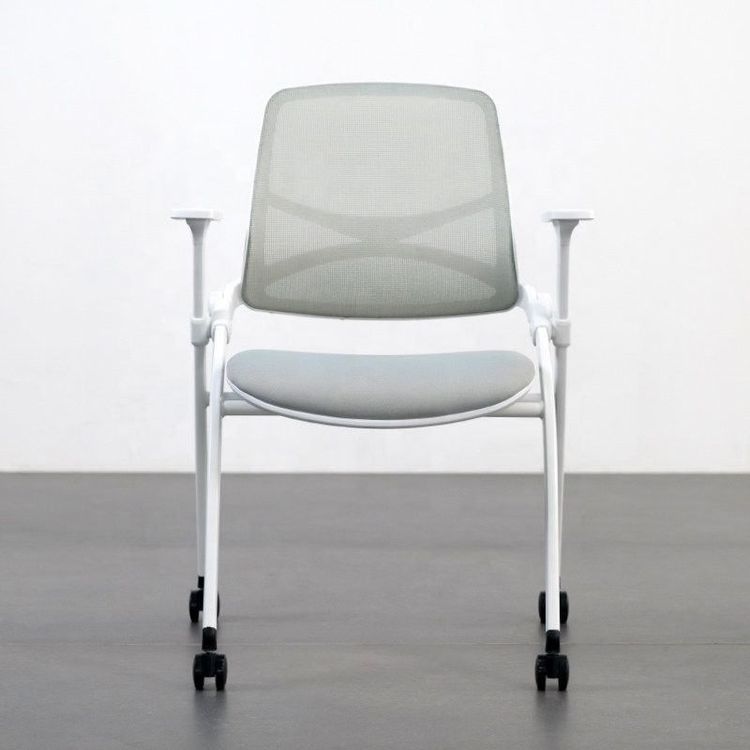
Noon Break Office Chair Tutorial
The tutorials for noon break office chairs are mainly divided into two categories: lazy noon break methods and installation tutorials for different chair models. Details are as follows:

I. Lazy Noon Break Methods Without Flat-Lying Conditions
If the company does not provide flat-lying sleep chairs and the office chair cannot adjust its angle, you can refer to techniques such as the 'Ultimate Noon Break Lying Method for Office Chairs'. For example, by adjusting your sitting posture and the angle of the chair back, using a lumbar support cushion or a foldable small table for assistance, shift your body's center of gravity backward to the chair back, stretch your legs naturally or place them on a footrest to form a semi-lying position to relieve fatigue. These methods do not require modifying the chair and are suitable for temporary emergency use. However, it is important to maintain the natural curve of the spine and avoid maintaining the same posture for extended periods to prevent muscle stiffness.
II. Installation Tutorial for Shunfan M01 Noon Break Chair
This model provides an official installation video for reference. Users can obtain the link by scanning the QR code in the product manual or contacting customer service. During installation, pay attention to the following:
- Component Identification: Check the screw specifications in advance (e.g., the shortest screw is used for fixing the tray) and the quantity of accessories to avoid omissions;
- Sequential Operation: Prioritize installing the connection between the seat cushion and the tray, ensuring that the gas rod is inserted vertically into the center hole of the five-star base;
- Detail Adjustment: After installing the armrests, check the flexibility of the moving joints. The height of the headrest should be adjusted according to the curvature of the individual's cervical spine.
III. Universal Installation Process for Ergonomic Noon Break Chairs
Taking a common model as an example, the steps are as follows:
- Seat Cushion Assembly: Fix the tray to the bottom of the seat cushion with the shortest screw, align it with the gas rod hole, and insert it vertically to ensure smooth lifting and lowering of the gas rod;
- Armrest Installation: Use the thickest screw to fix the armrests on both sides of the seat cushion and insert a decorative strip to cover the screw holes;
- Five-Star Base Assembly: Forcefully insert the five wheels into the slots of the five-star base and test whether the sliding resistance is uniform;
- Overall Debugging: Check whether all connections are secure and confirm the chair's balance by adjusting the height of the gas rod.
IV. Installation Steps for GF88 Noon Break Chair
- Chassis Fixation: Pass the chassis screw through the black spring clip and the washer, fix it temporarily without tightening it completely, and adjust the tightness uniformly after all components are installed;
- Backrest Connection: Insert the backrest into the middle slot of the chassis, align it with the gas rod, and lower it slowly to avoid damaging the gas rod under pressure;
- Armrest Adjustment: Install the armrests through the armrest rotors, maintain an appropriate amount of movement space initially, and adjust the damping feel according to usage habits after installation;
- Headrest Installation: Fix the headrest with two silver screws, ensuring that it can slide up and down and fits snugly against the cervical spine. Finally, cover it with a decorative cap to complete the finishing touches.
Precautions: Read the manual carefully before installation to distinguish between screw specifications and accessory uses; avoid applying excessive force during operation to prevent plastic parts from cracking; repeatedly test the functionality of all components (e.g., gas rod lifting and lowering, armrest rotation) after installation to ensure they are working properly.