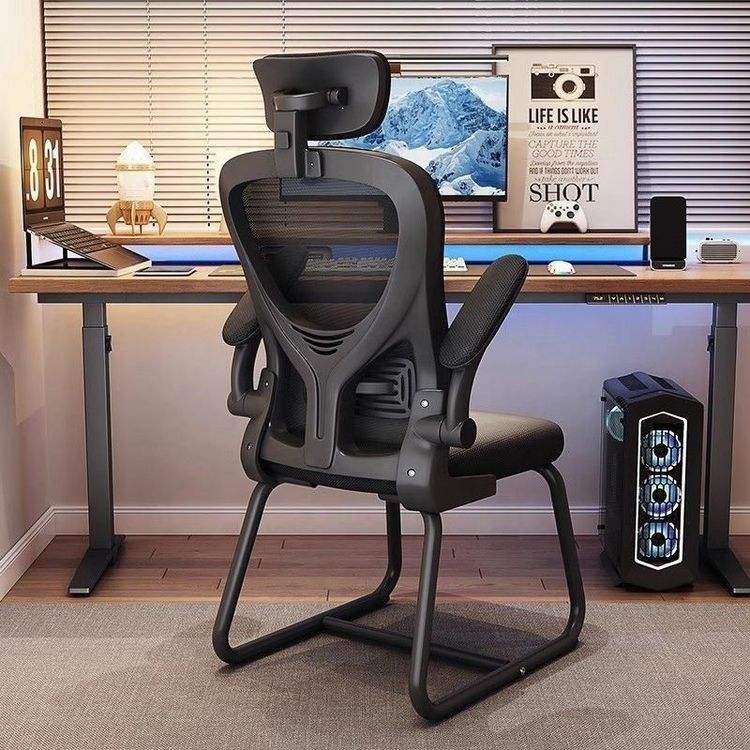
Hand-Drawn Minimalist Office Chair
The following steps and key points can be referred to for hand-drawing a minimalist office chair:

Selection of Design Style The hand-drawing of a minimalist office chair should center around a "minimalist and fashionable integrated style". This type of design emphasizes smooth lines, clear structures, and avoids complex decorations. Modernity can be reflected through the combination of geometric shapes (such as rectangles and trapezoids). For example, the backrest can be designed as a slightly curved rectangle, and the armrests and chair legs can use straight lines, resulting in a simple overall shape that conforms to ergonomic principles.
Application of Perspective Method Using the one-point perspective method for drawing can enhance the sense of space. The specific steps are as follows:
- Drawing the Front Elevation: First, draw a vertical rectangle as the outline of the chair's front elevation to determine the overall proportions (for example, the height is about 1.5 times the width).
- Marking Key Points: Draw a horizontal auxiliary line at the midpoint of the rectangle as the bottom boundary of the seat cushion. According to design requirements, mark the height of the backrest above the auxiliary line (usually 1.2 - 1.5 times the height of the seat cushion) and determine the position of the armrests (generally level with or slightly lower than the top of the seat cushion).
- Detailing the Structure: Draw the shapes of the backrest and armrests according to the marked points (such as straight or slightly curved shapes), and then add the chair legs (the four legs can be designed as trapezoids that are narrow at the front and wide at the back to enhance stability).
Handling of Perspective Depth
- Determining the Vanishing Point: Set a vanishing point about 1.2 meters above the front elevation of the chair (this position can simulate the effect of human eye-level viewing).
- Connecting Auxiliary Lines: Draw straight lines from the vertices of the front elevation (such as the four corners of the seat cushion and the top of the backrest) to the vanishing point. These lines will determine the depth and height of the chair. For example, the rear part of the seat cushion needs to contract backward along the auxiliary lines to create a perspective effect.
- Perfecting the Outline: Adjust the side shapes of the chair legs and armrests according to the auxiliary lines to ensure that the proportions of all parts are coordinated.
Outlining and Details When using a gel pen for outlining, it is necessary to strengthen the structural lines (such as the junction between the backrest and the seat cushion, and the connection between the armrests and the chair legs) and weaken the auxiliary lines. A small number of details can be added (such as anti-slip pads at the bottom of the chair legs and air vents on the backrest), but the overall simplicity should be maintained. Finally, erase the pencil draft to complete the hand-drawing.
Precautions
- Before drawing, observe the proportional relationships of real office chairs to avoid perspective distortion.
- If designing a swivel chair, a circular base needs to be added at the bottom of the chair legs, and its thickness should be represented using the perspective method.
- For color application, it is recommended to use a single color (such as black or gray) or low-saturation color schemes to highlight the minimalist style.