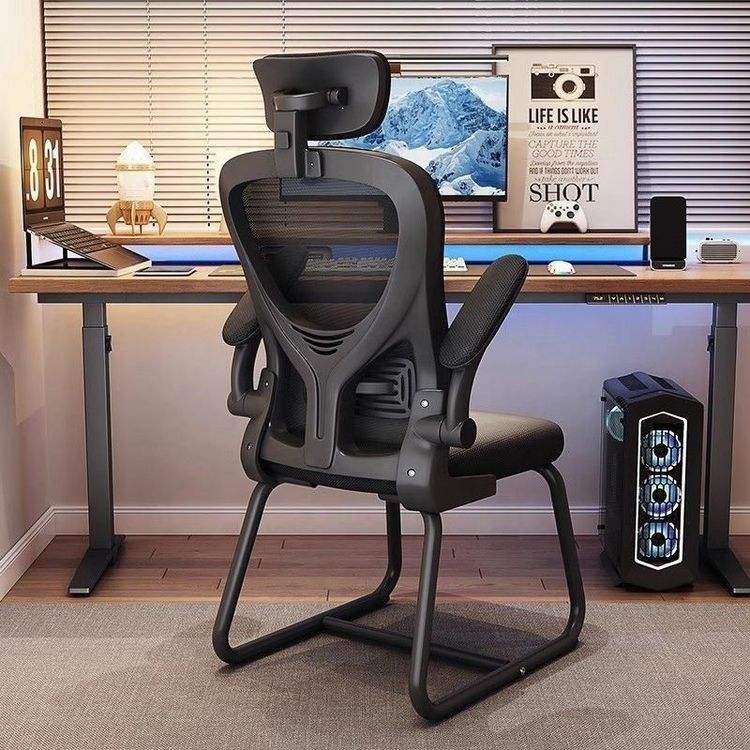
Assembly of Cheap Office Chairs
The steps for assembling a cheap office chair can be divided into the following four steps, and the operation details need to be adjusted according to the specific structure:

Step 1: Install the Bottom Support Components Assemble the chair legs and wheels first, as they form the load-bearing foundation of the entire chair. Align the universal wheels with the slots on the chair legs and press firmly until they are fully embedded (some models may require a plastic cover to be snapped over the buckle for protection). For a pneumatic lift chair, insert the pneumatic rod vertically into the center hole of the chair legs, ensuring that the metal rod fits snugly with the plastic sleeve. Note: The chair legs of cheap office chairs may be made of lightweight plastic, so avoid applying excessive force during installation to prevent cracking.
Step 2: Secure the Seat Cushion and Lifting System Turn the seat cushion over so that its back is facing up and locate the pre-drilled installation holes at the bottom. If it has a snap-spring structure (common in low-priced products), align the top end of the lifting rod with the snap-spring slot and secure it by rotating or pressing. If it is secured with screws, use the provided short screws to connect the seat cushion to the pneumatic rod and tighten them with an Allen wrench (Key point: The screws must penetrate the bottom plate of the seat cushion and the metal part of the pneumatic rod to ensure there is no looseness). Test the levelness of the seat cushion to avoid subsequent wobbling due to improper installation.
Step 3: Assemble the Backrest and Armrests There are two cases for backrest installation:
- Snap-spring mortise-and-tenon structure: Align the bottom of the backrest with the slots on the back of the seat cushion and press down firmly until you hear a "click" sound. Check whether the plastic snap-spring is fully embedded (Risk point: The plastic snap-springs of cheap chairs are prone to breaking, so handle them gently).
- Screw fixation: Use long screws to pass through the pre-drilled holes in the backrest and the seat cushion, and reinforce them with washers (Tip: First manually tighten all the screws, and then use a wrench to tighten them one by one to prevent excessive force on a single point). Armrests are usually fixed to both sides of the seat cushion with short screws. For some models, you may need to connect the armrests to the backrest first and then install them as a whole. Refer to the instruction manual to adjust the order.
Step 4: Final Debugging and Reinforcement After completing the main assembly, perform the following checks:
- Stability test: Sit on the chair and shake it slightly to observe whether the chair legs and wheels shift.
- Lifting function test: Repeatedly adjust the height of the pneumatic rod to ensure smooth lifting and no jamming.
- Re-tighten the screws: Use a wrench to re-check all the screws (especially those in load-bearing parts). Cheap office chairs have a higher risk of screw looseness due to their lower material strength.
Additional Instructions:
- Tool usage: The Allen wrench provided with the box must match the screw specifications to avoid slipping.
- Part inspection: Check the number of wheels and screws before assembly. Cheap products may be missing parts.
- Safety warning: If the chair makes abnormal noises or is obviously tilted, stop using it immediately and re-check the installation.